
SkyTrack helps you build, simulate, and test autonomous missions in a safe, local environment before working with real hardware.
This guide will walk you through the initial setup so you can run your first mission simulation smoothly.
Who this guide is for
This guide is intended for:
- Engineers and developers
- Researchers and technical builders
- Teams exploring autonomous mission workflows
No prior experience with SkyTrack is required.
What you’ll need before starting
Before you begin, make sure you have:
- A supported operating system:
- macOS
- Windows
- Ubuntu
- An active internet connection
- Docker Desktop installed on your machine
- A Google or Microsoft account to sign in
Install & Setup
This section covers everything you need to install SkyTrack and prepare your local environment.
Steps
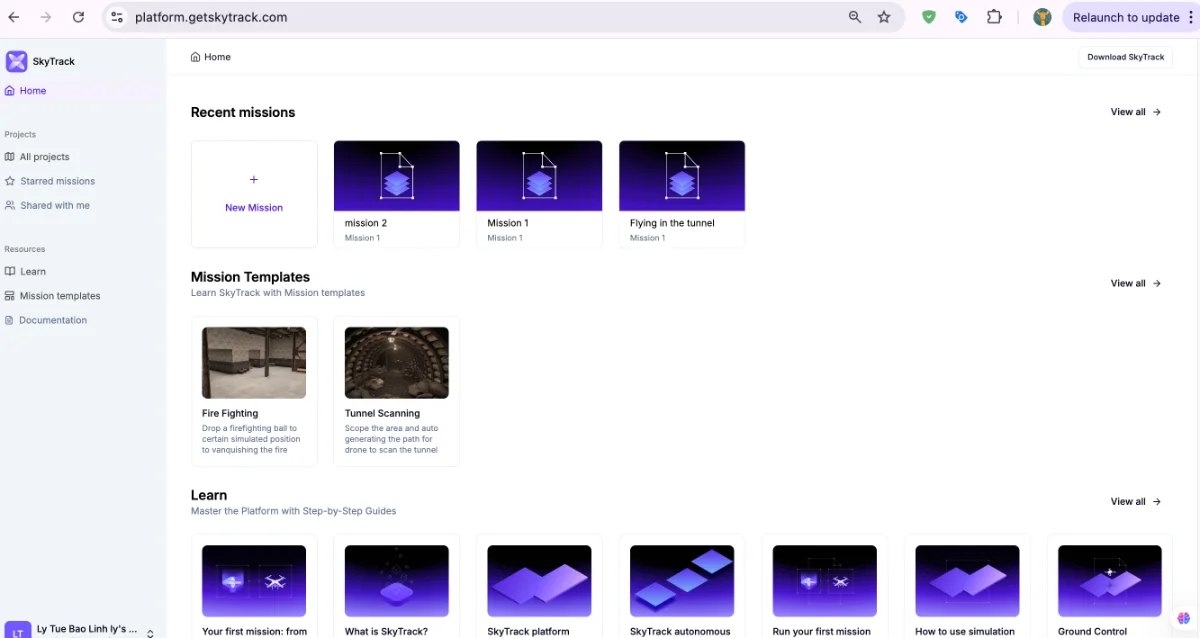
- Open SkyTrack platform:
- Click Start Building at the top right of the page
- Or go directly to platform.getskytrack.com
- Click Start Building at the top right of the page
- Sign in using your Google/ Microsoft account/ Github

- Once signed in, you will be guided to download and install the client desktop app
Download SkyTrack
The SkyTrack Client is the desktop application used to run simulations and control missions.
Download steps
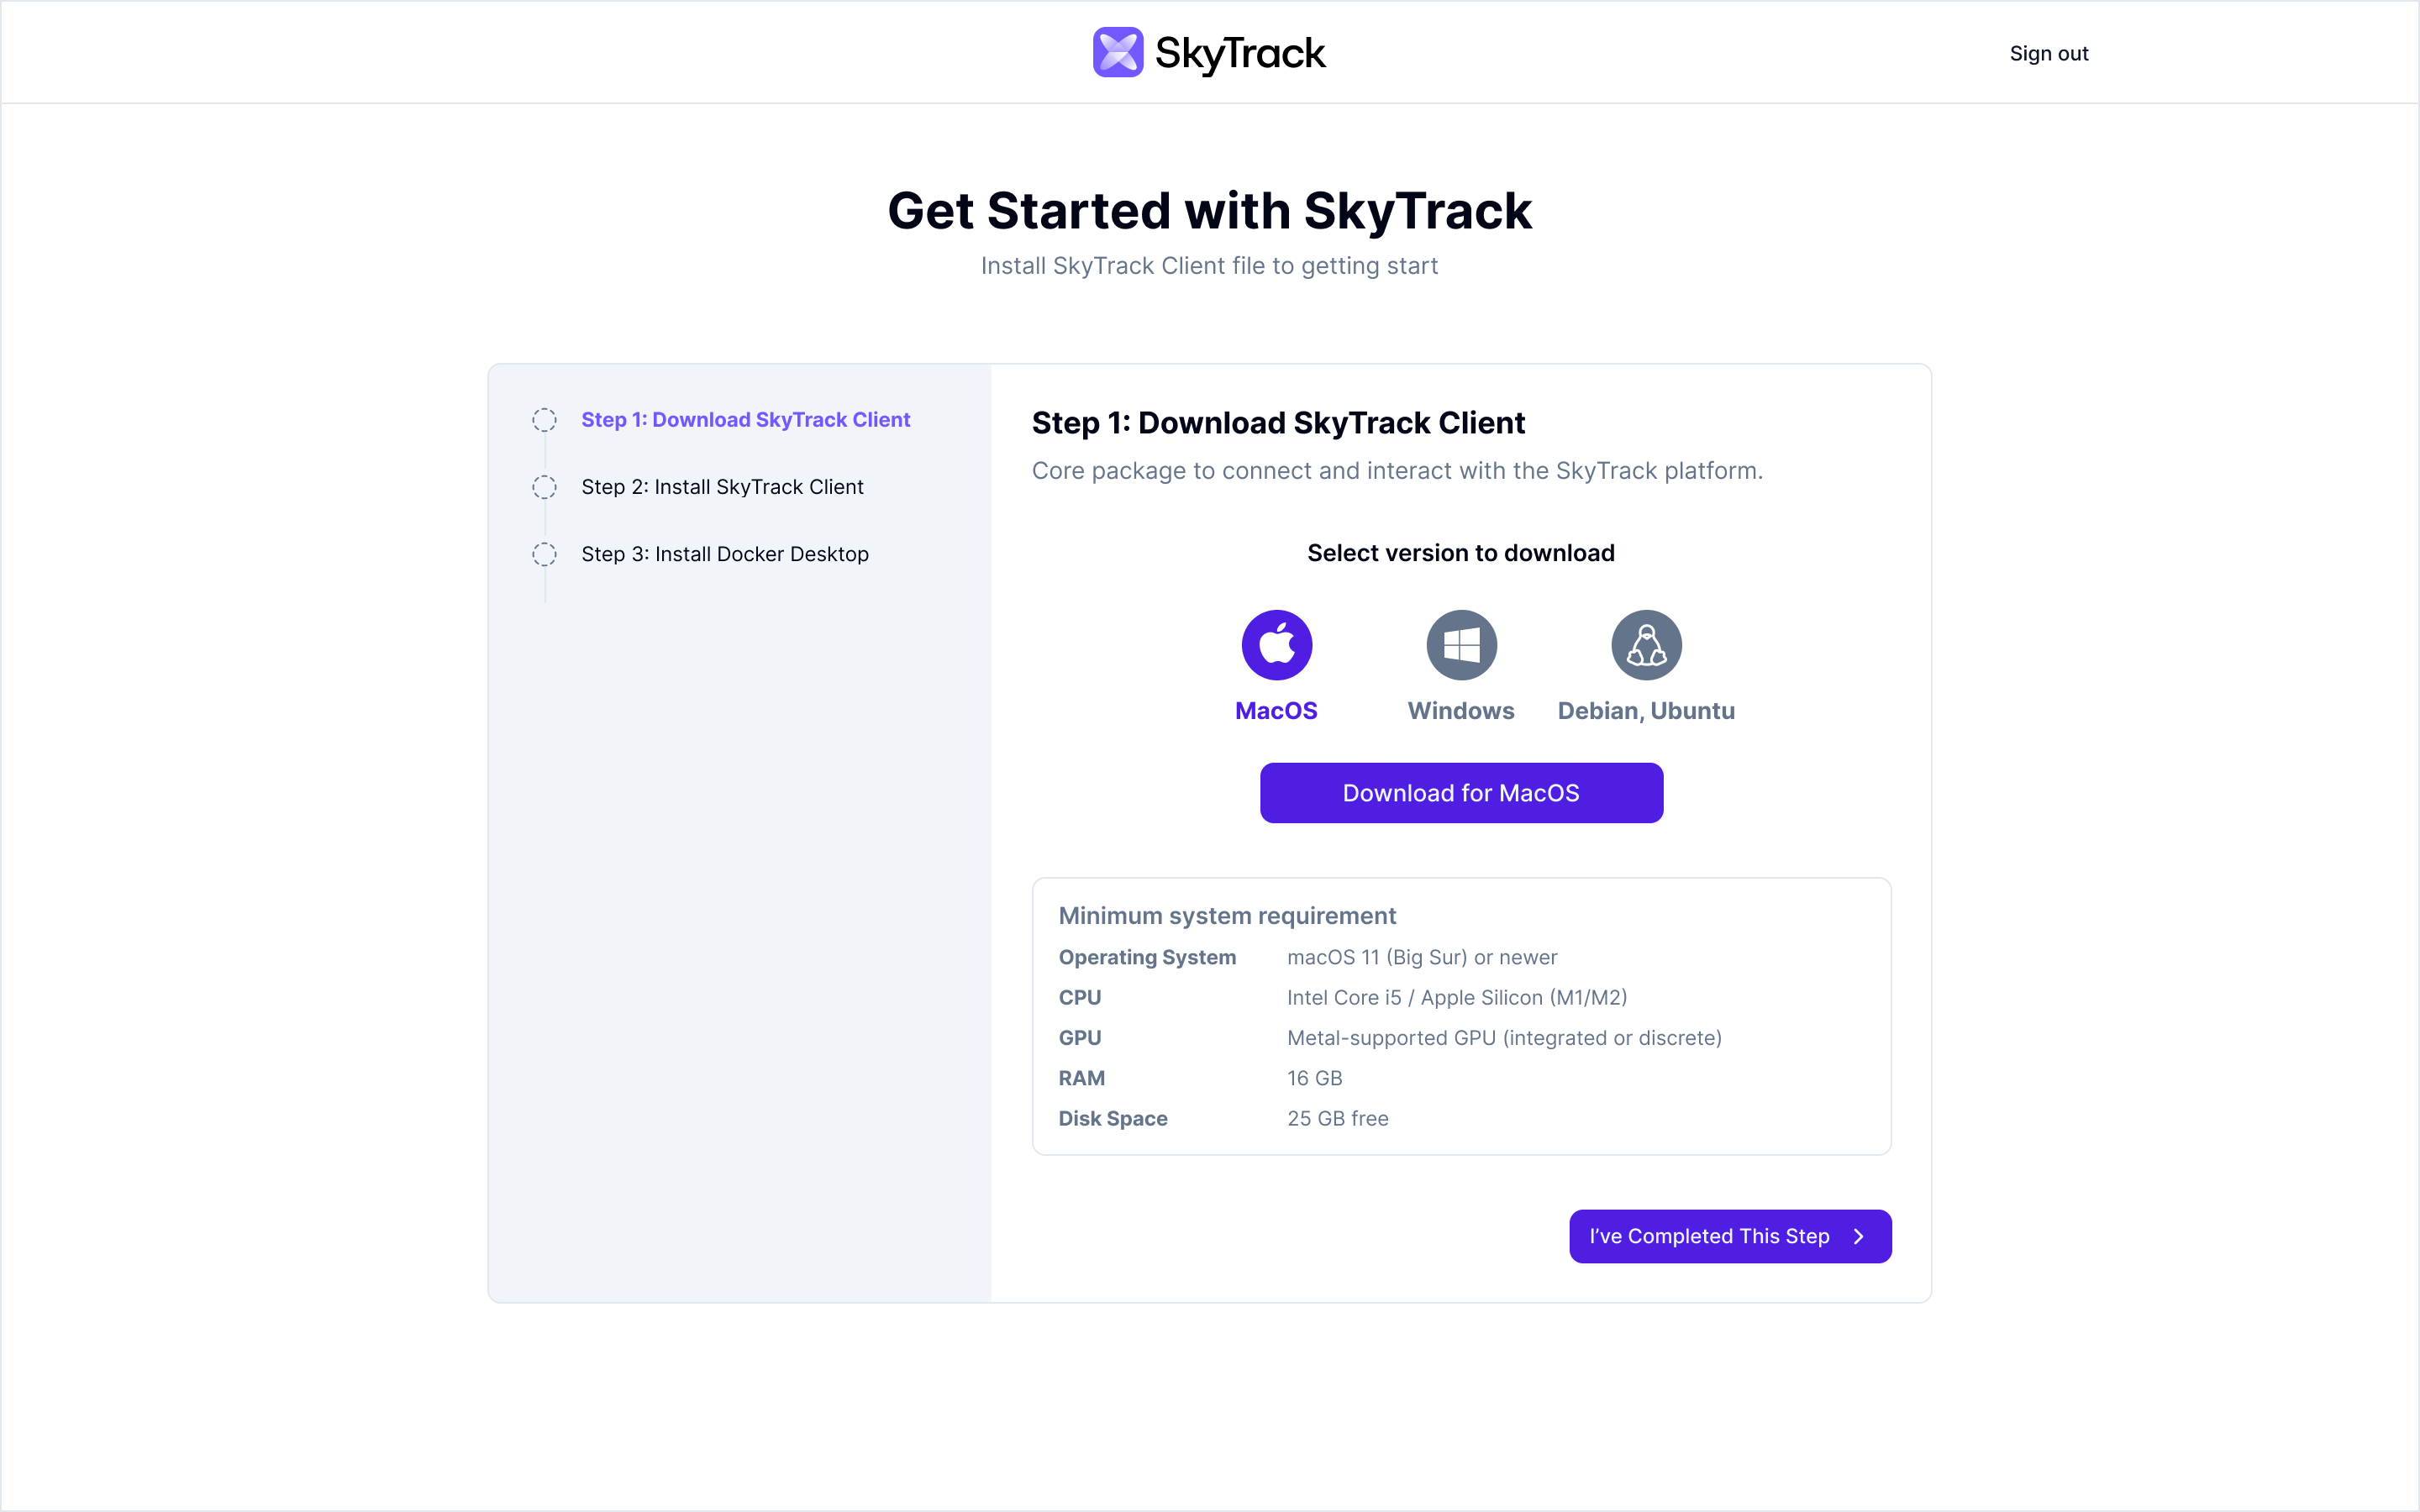
- From the Get Started page, choose your operating system.
- Download the SkyTrack Client installer.
- Save the file to your local machine.
- Mark "I’ve complete this step" to go to the next guidance.
Install SkyTrack
Follow the instructions for your operating system.
macOS
- Open the downloaded file.
- Drag SkyTrack into the Applications folder.
- Launch SkyTrack from Applications.
Windows
- Run the downloaded installer.
- Follow the on-screen installation steps.
- Launch SkyTrack from the Start menu.
Ubuntu
- Open a terminal.
- Install the package using the provided command or package manager.
- Launch SkyTrack from your applications list.
Verify installation
- The SkyTrack app opens successfully.
- You see the SkyTrack launch screen without errors.
Install Docker Desktop
Docker is required to run background services that power simulation and mission execution.
Why Docker is required
SkyTrack uses Docker to:
- Run simulation services
- Manage environment dependencies
- Ensure consistent behavior across systems
Install Docker
- Visit the official Docker Desktop website.
- Download Docker Desktop for your operating system.
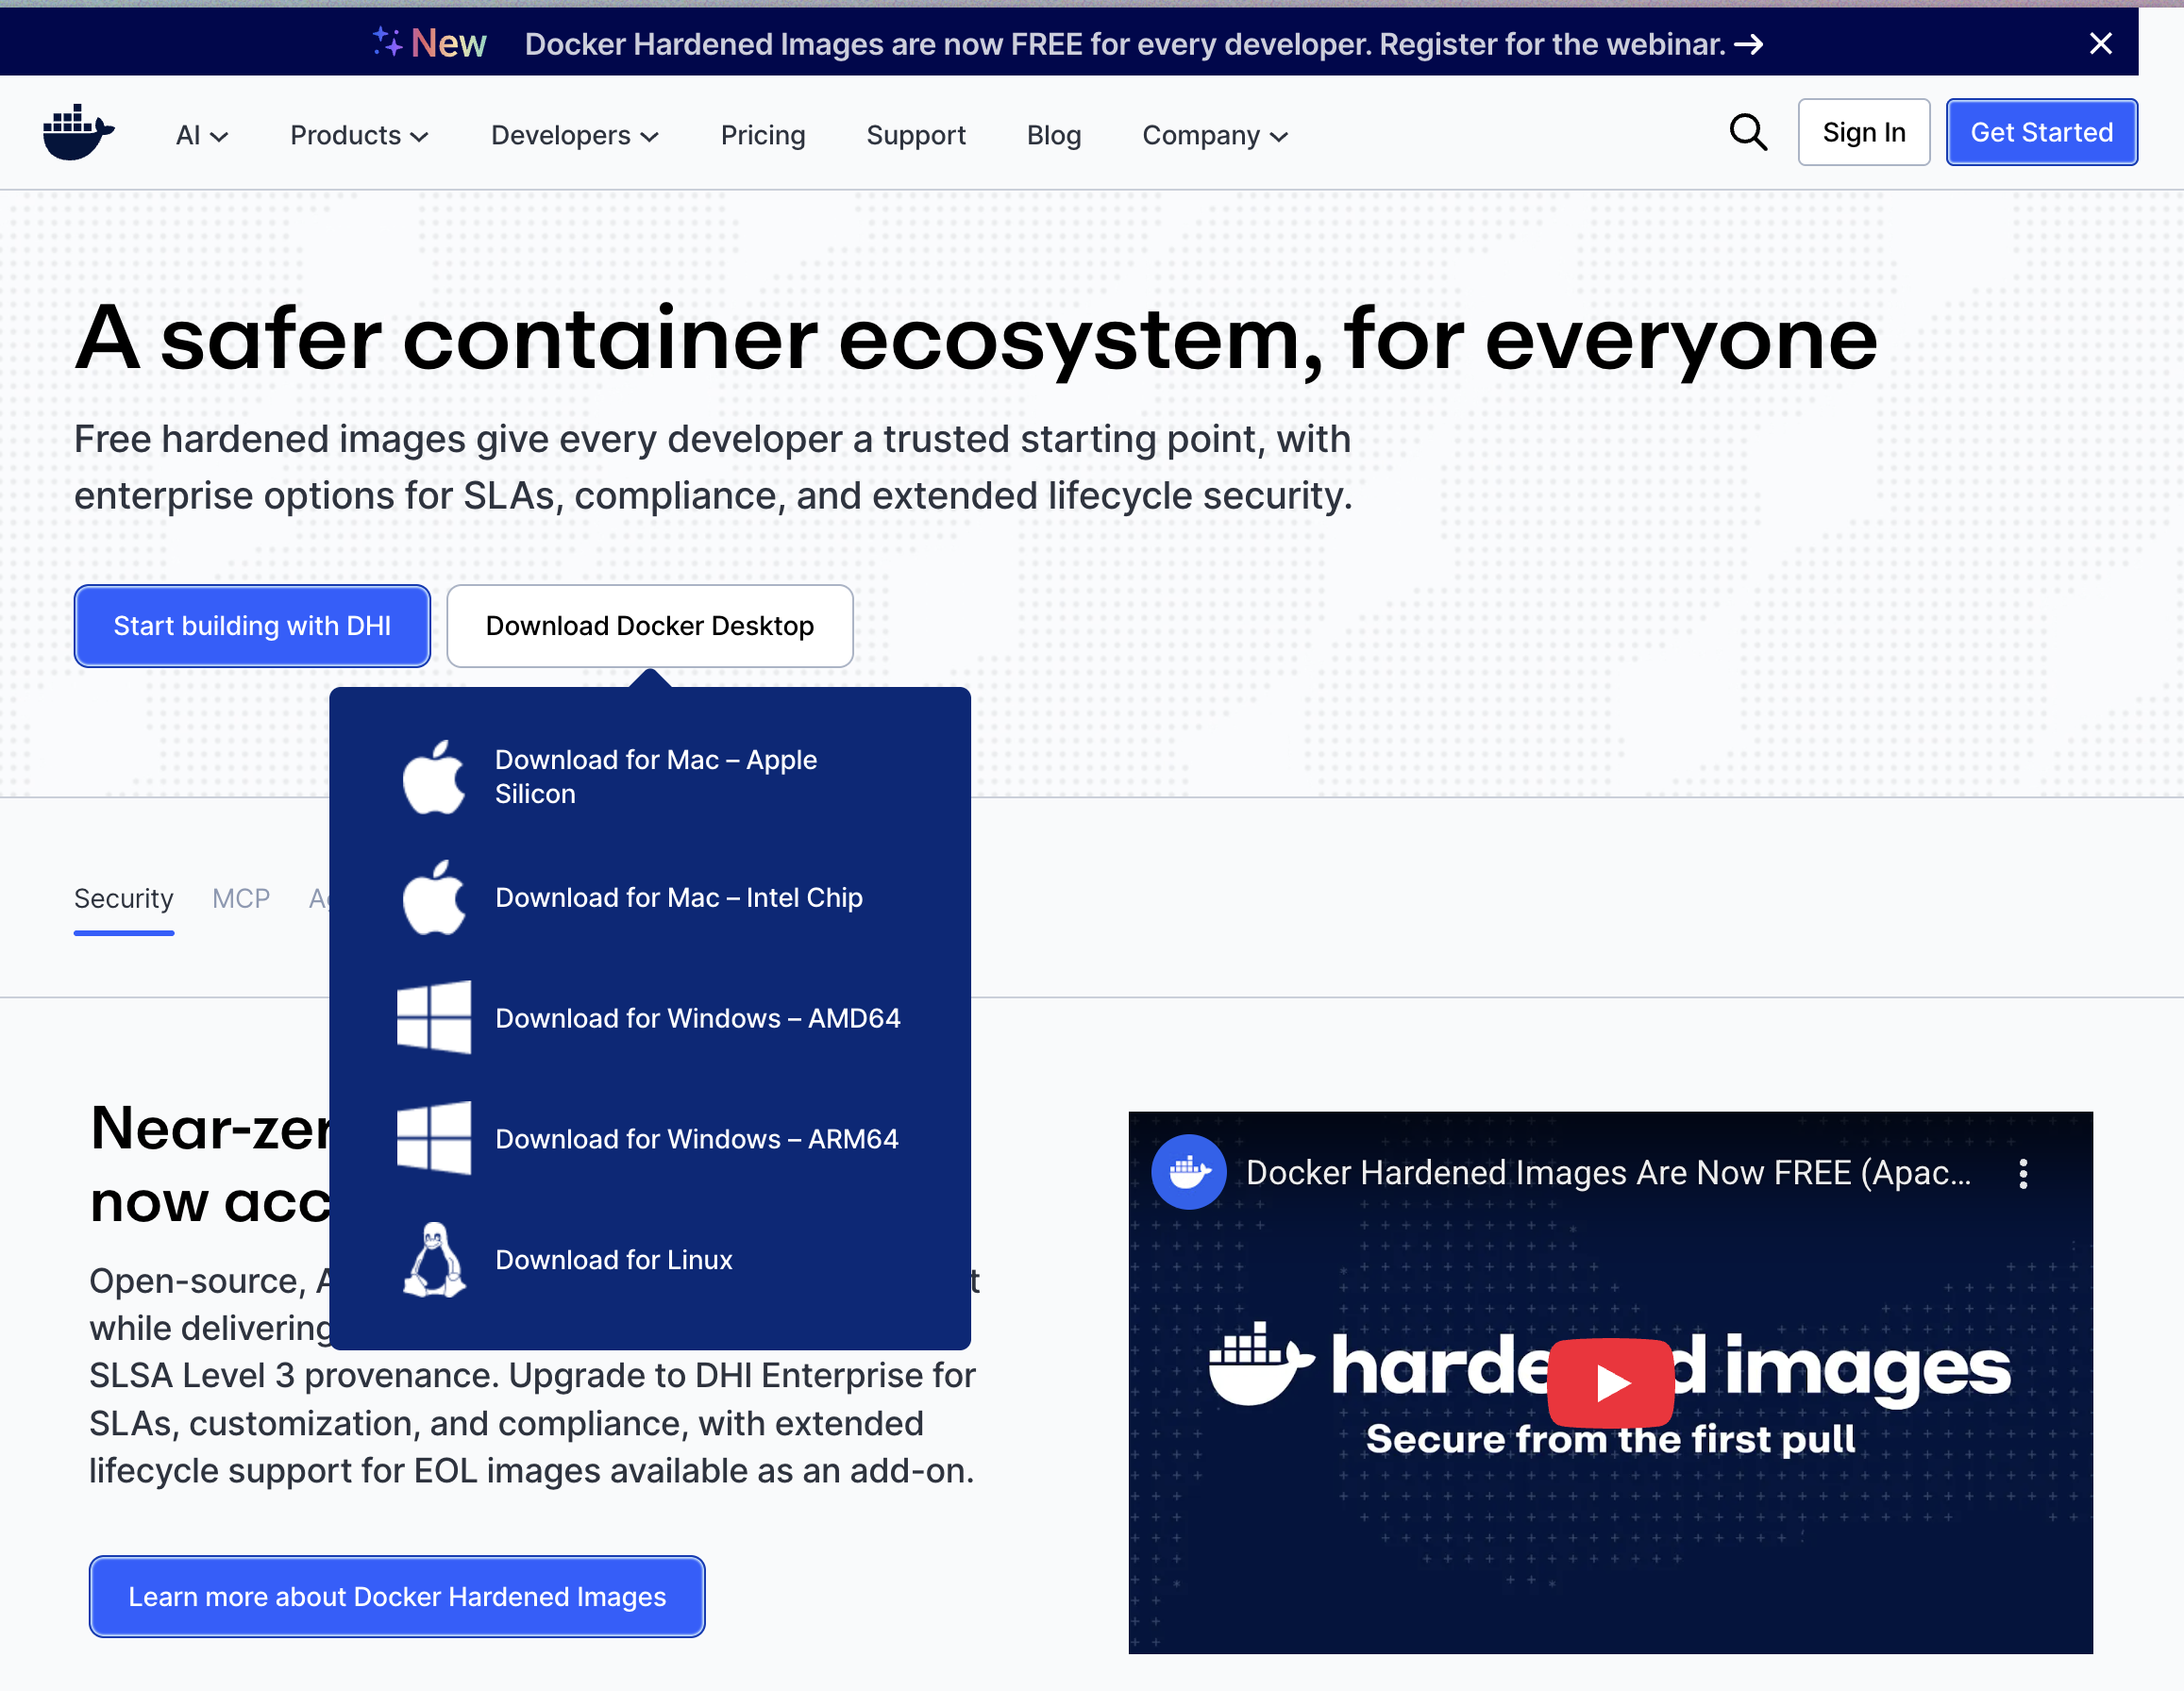
- Follow Docker’s installation instructions.
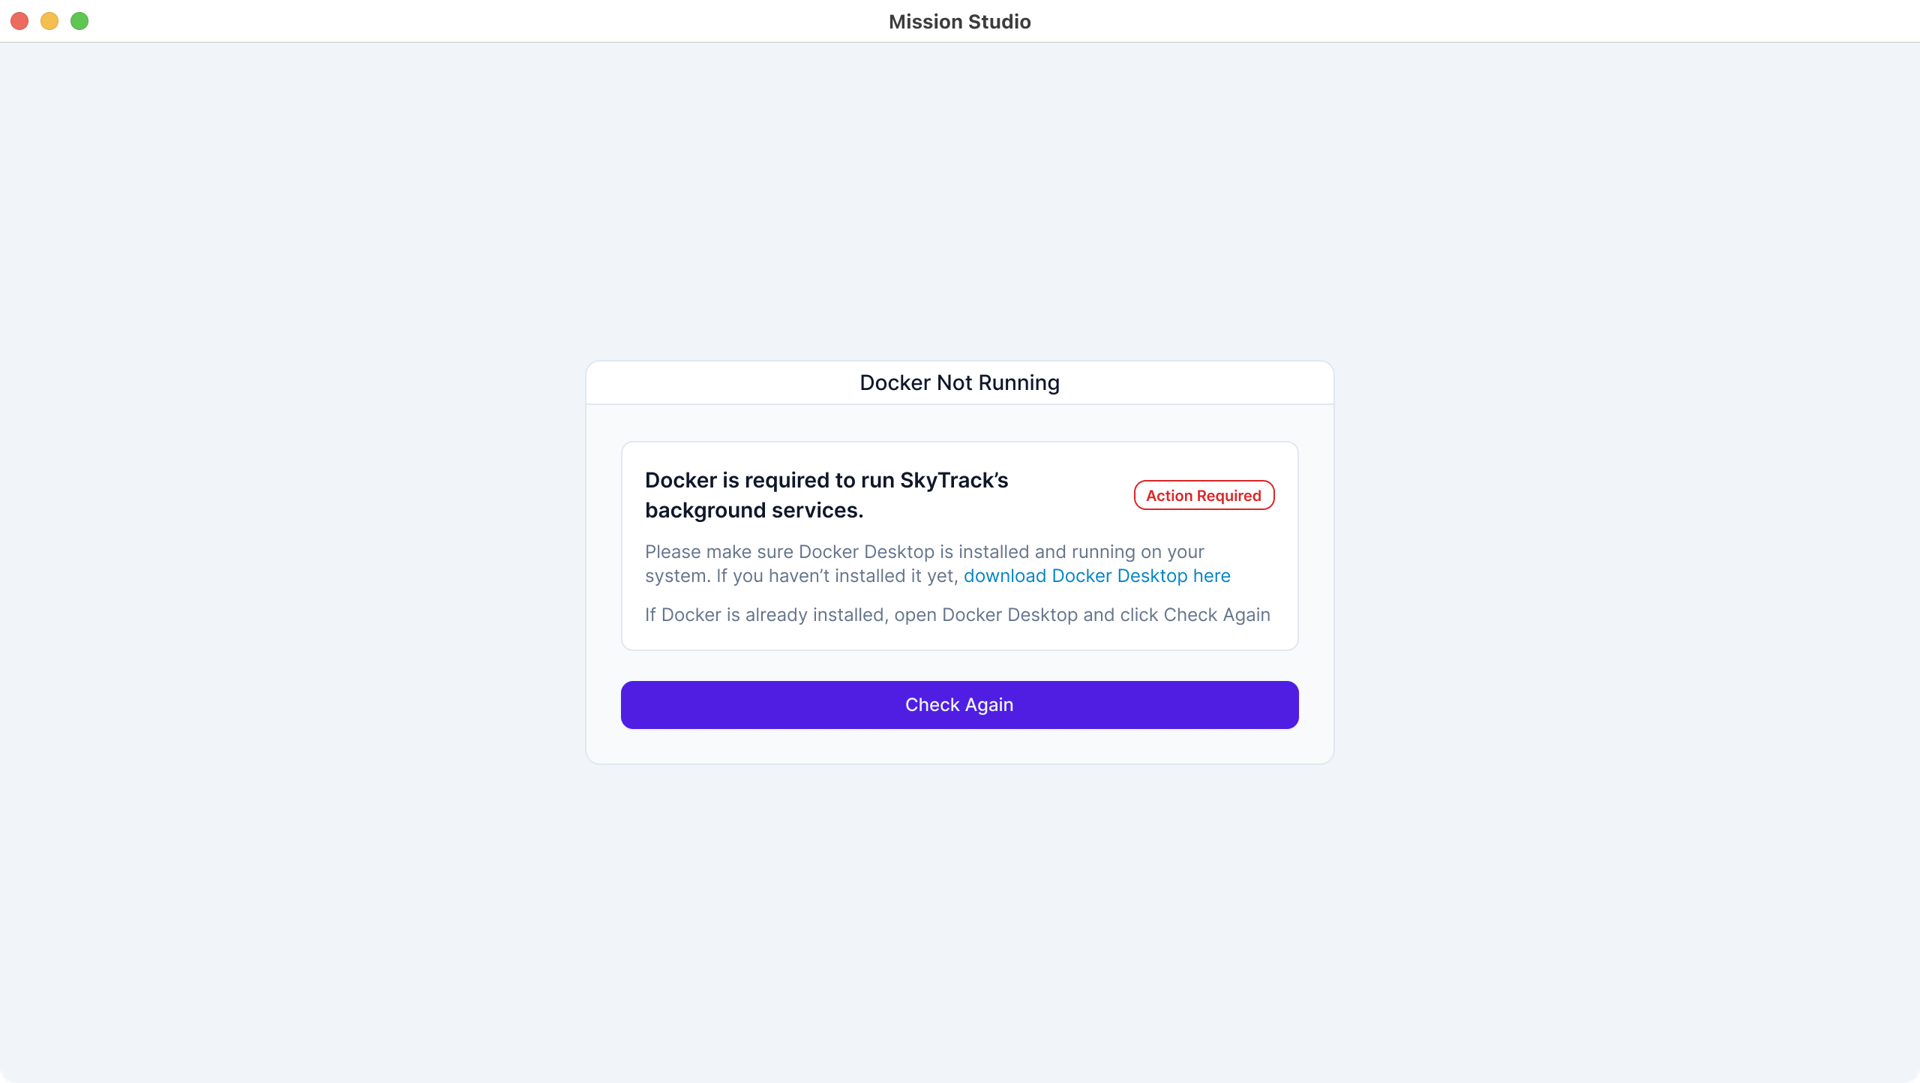
Verify Docker is running
Before launching simulations, Docker must be running.
How to check
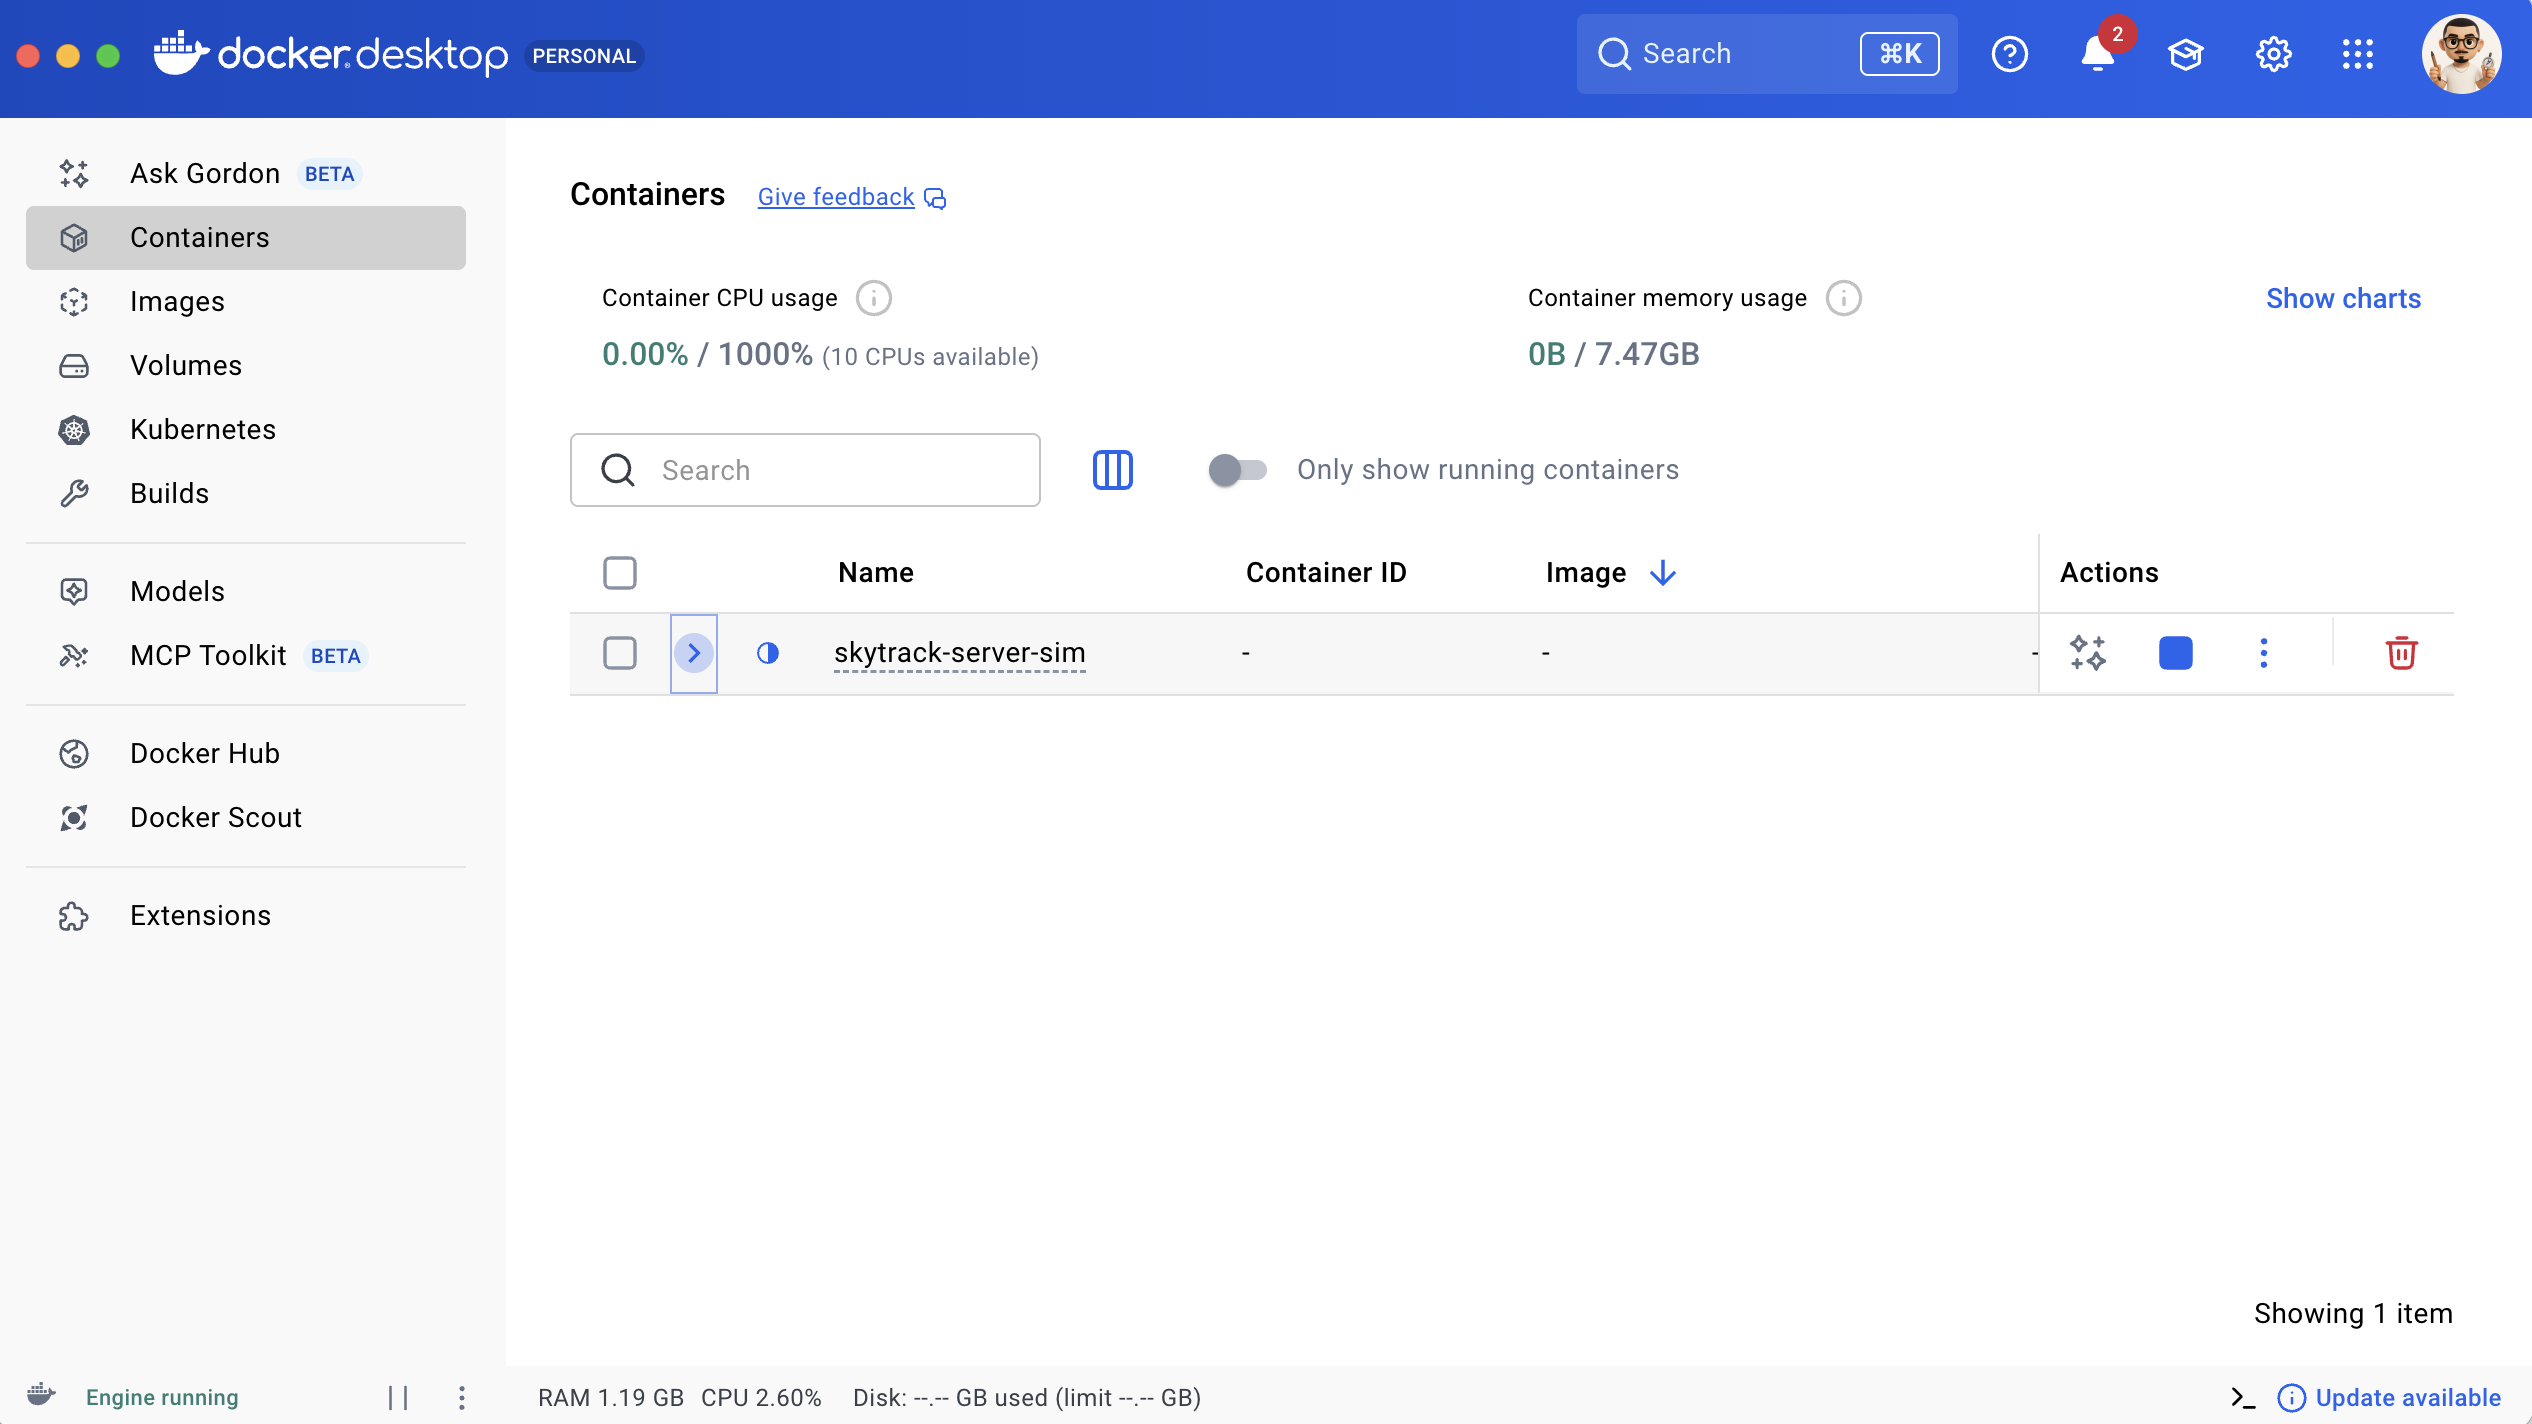
- Open Docker Desktop.
- Confirm that Docker shows a Running or Ready status.
Common issues
- Docker is installed but not started
- Docker requires system permission on first launch
If Docker is not running, start Docker Desktop before continuing.
Open SkyTrack Client for the first time
Once installation is complete:
- Now you are ready to create your mission, you can:
- Open the SkyTrack Client manually from your device
- Click on + New mission to automatically open the installed application (if you do not install the app, nothing will happen here)
- Or you can choose a built-on templates in to see what a proper one looklook like (e.g. Fire fighting template)
- You will be asked to choose a mode to start.
Choose a mode
SkyTrack offers 02 modes:
- Mission simusimulation
- Ground control station
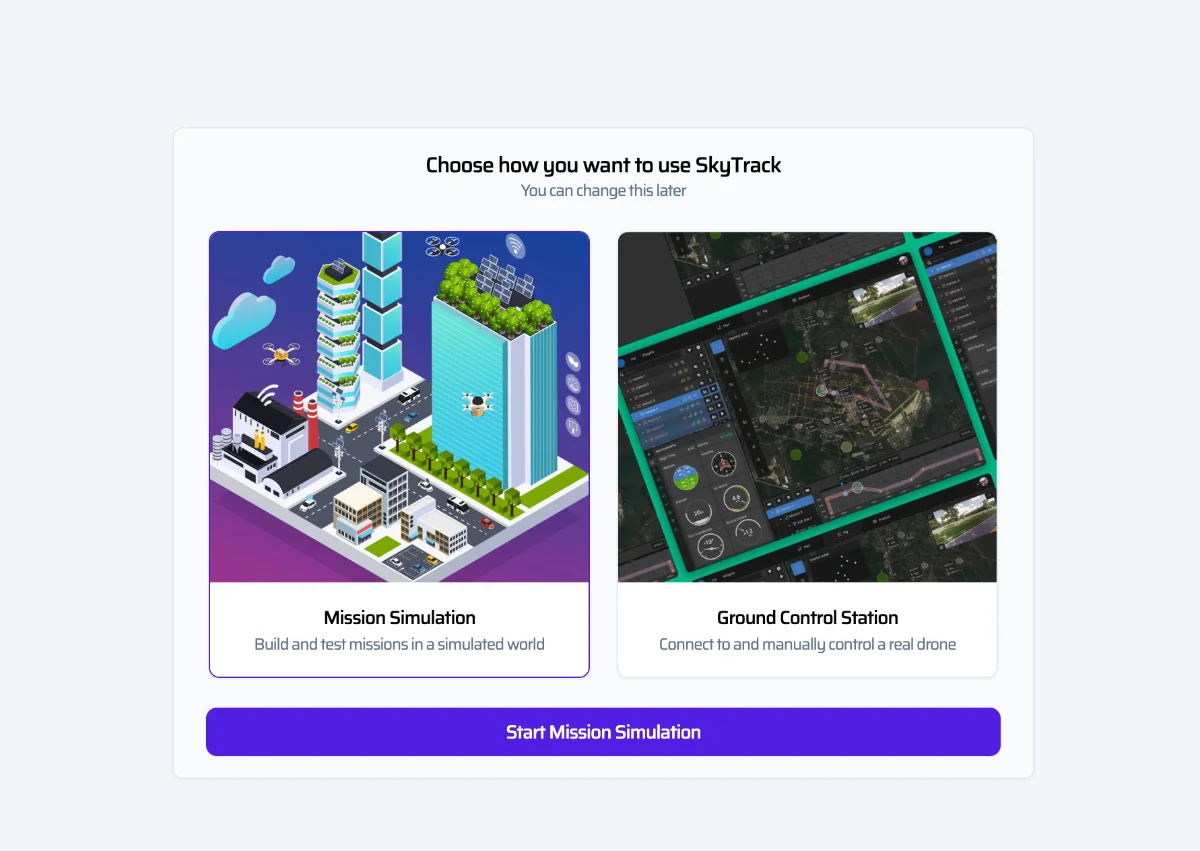
Mission Simulation (Recommended)
- Build and test missions in a simulated environment
- No hardware required
- Best starting point for new users
Ground Control Station
- Control a real drone using supported hardware
- Requires compatible devices and network setup
For first-time users, Mission Simulation is recommended.
Preparing the simulation environment
When you select Mission Simulation, SkyTrack will prepare the required environment.
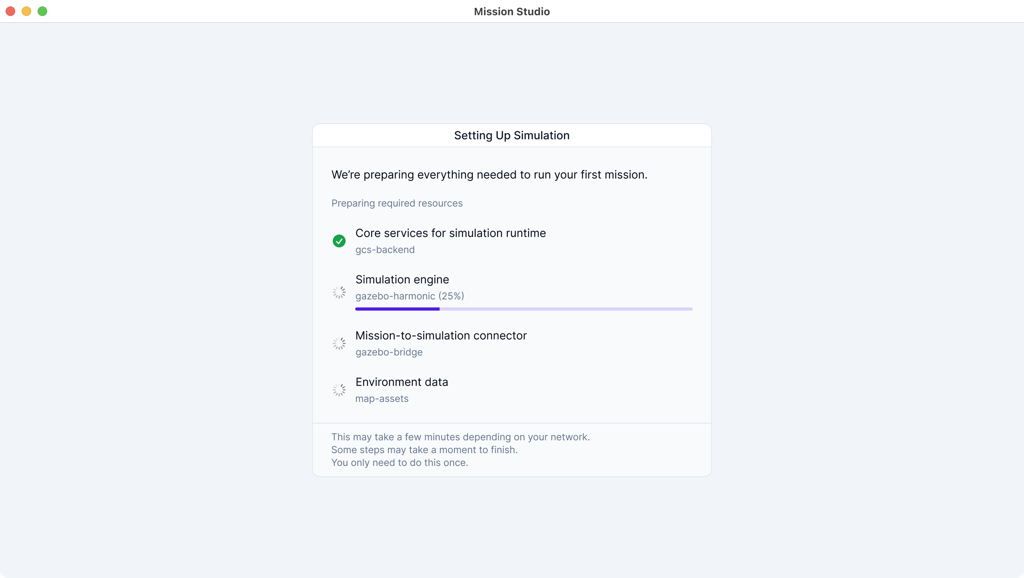
What happens during setup
- Required resources are downloaded
- Resources are imported into Docker
- Background services are initialized
This process may take a few minutes depending on your network and system performance. You only need to complete this setup once.
If setup fails
If the environment setup does not complete:
- Make sure Docker Desktop is running
- Check your internet connection
- Try running the setup again
Most setup issues are temporary and can be resolved by restarting Docker and retrying.
Next steps
Once setup is complete, you can:
- Create a new mission
- Import an existing mission from a local file
- Start exploring mission simulation
Continue to the Missions section to learn how to create or import your first mission.
Join Discord community to explore what other builders are building